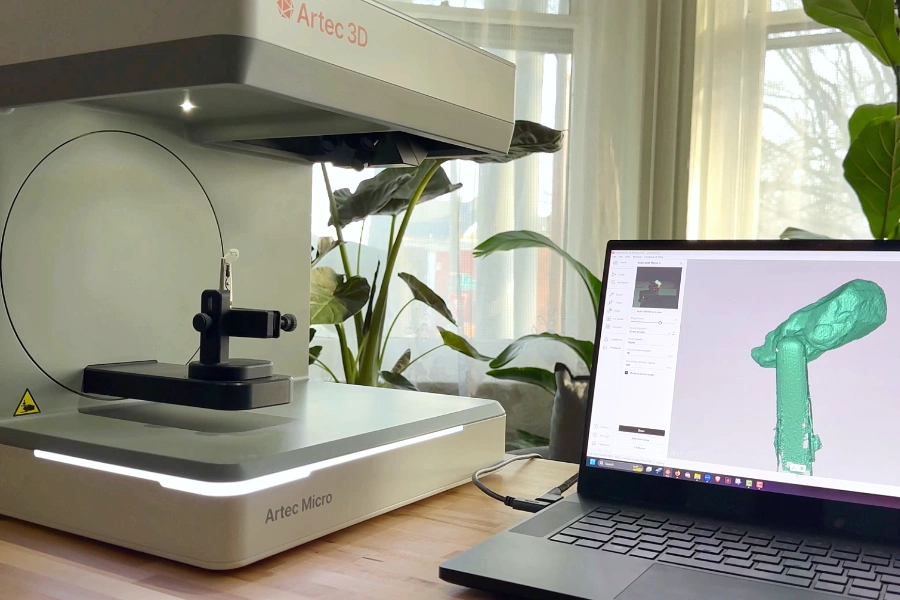
Recently, we scanned a small, transparent gemstone using the new desktop 3D scanner, the Artec Micro II. Remarkably, we completed the entire project—from 3D scanning to cleaning up the scan data and generating a complete 3D model—in under 15 minutes! In this how-to article, we’ll share our process for achieving these results.
Why We Chose the Artec Micro II Desktop 3D Scanner
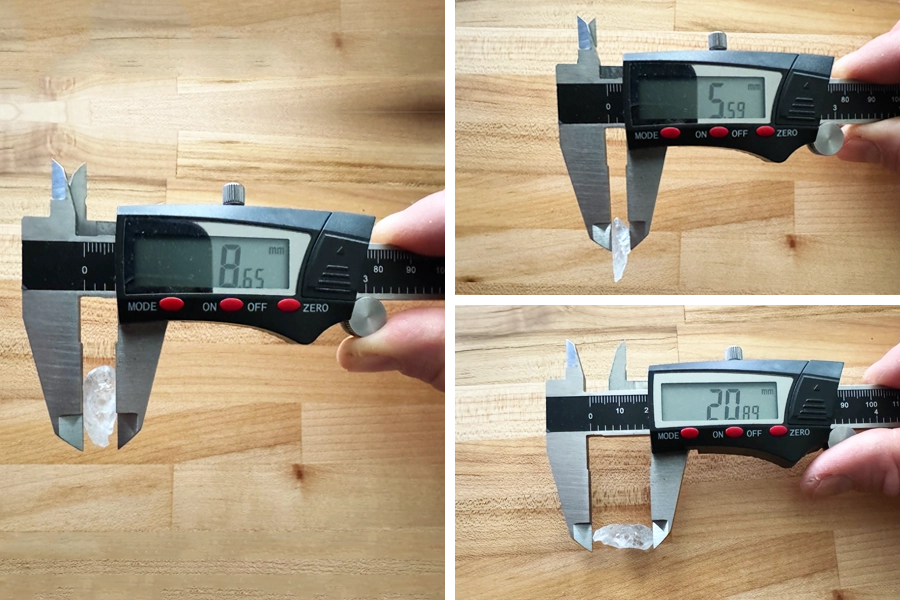
We chose the Artec Micro II as the 3D scanner for multiple reasons:
-
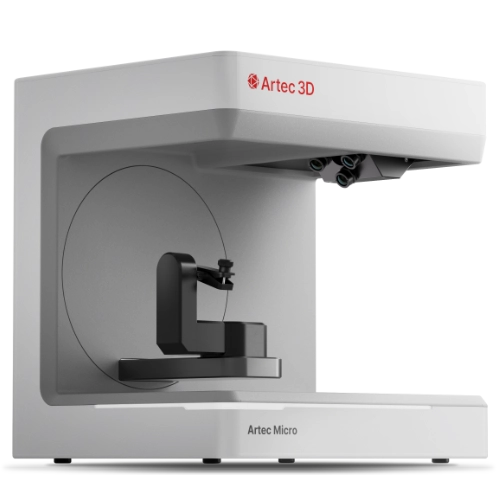
The Artec Micro II was specifically designed to scan extra small to small objects.
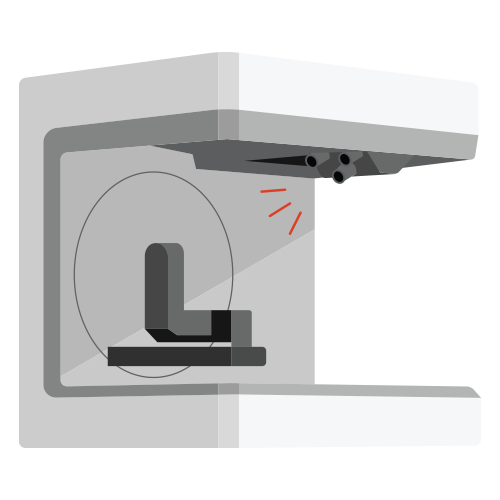
We used the Artec Micro II because it scans tiny objects. The size limit is anything you can hold between two fingers up to those that fit in the palm of your hand (approximately 200 mm). This 3D scanner has four 13-megapixel cameras that scan an object from all angles to capture the fine details in minimal time. -
The Artec Micro II is a fully automated desktop 3D scanner.
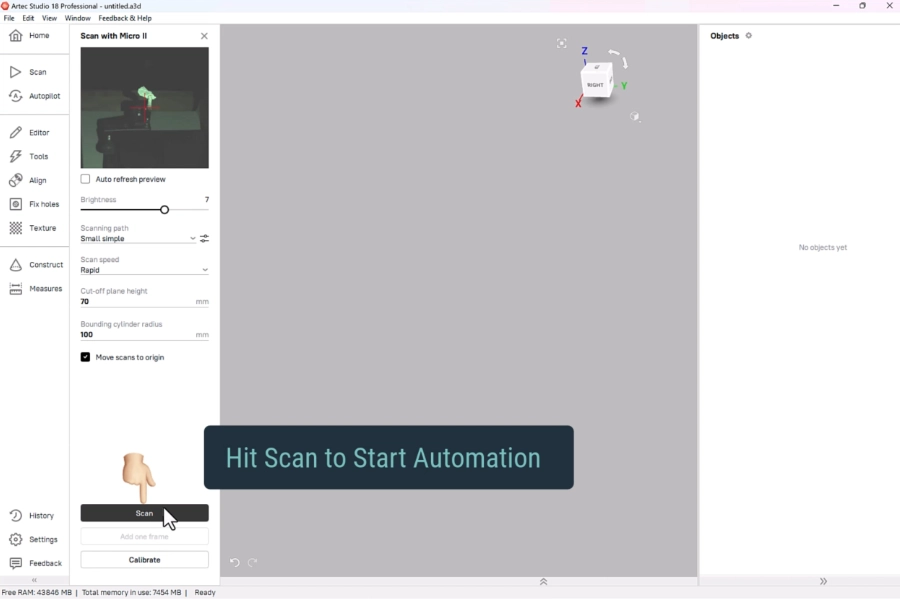
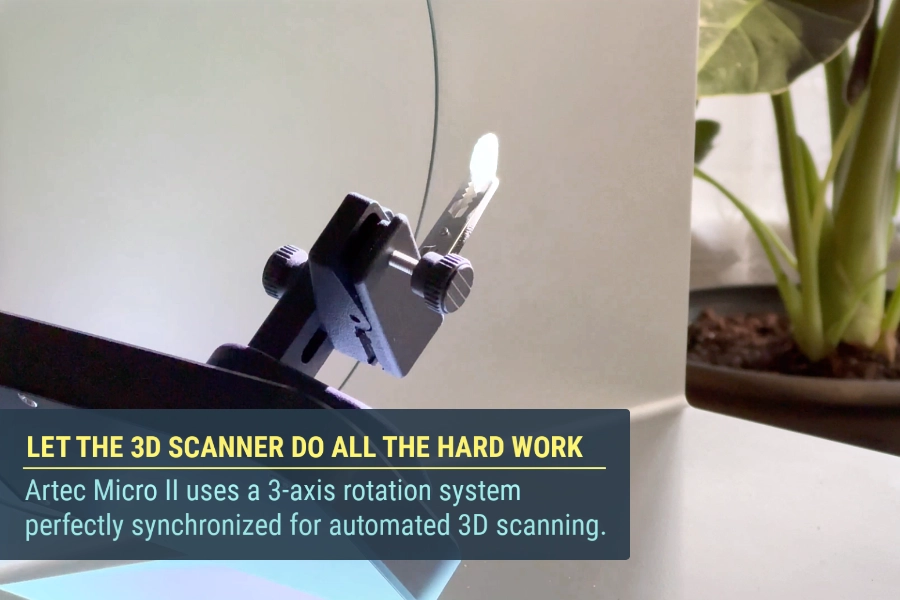
While 3D scanning a small object like this gemstone could typically require a lot of time and patience to achieve high-quality scans, the Artec Micro II streamlines the process. As an automated 3D scanner, it does all the hard work. Simply place the object on the magnetic base, adjust a few settings to specify your scanning preferences, and the scanner is ready to start acquiring scan data.

How it Works
3D Scanning Tips
As we’ve mentioned in our article, Tips on Getting Quality Scans from Your 3D Scanner, doing simple preparation before scanning ensures you get the best results. It also avoids any post-processing issues down the road.
There are two challenges we have to tackle when 3D scanning this gemstone:
Challenge #1
Clear surfaces are a difficult surface to scan.
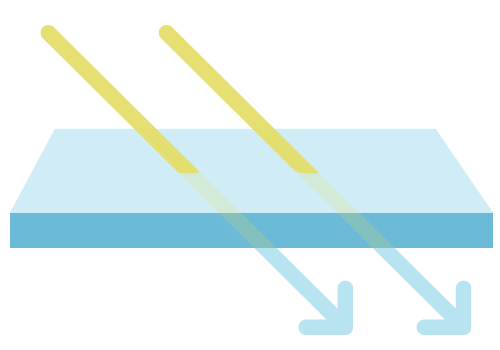
Light from the 3D scanner penetrates transparent or translucent surfaces during the 3D scanning process. This causes noise and inaccurate renderings of the 3D model.
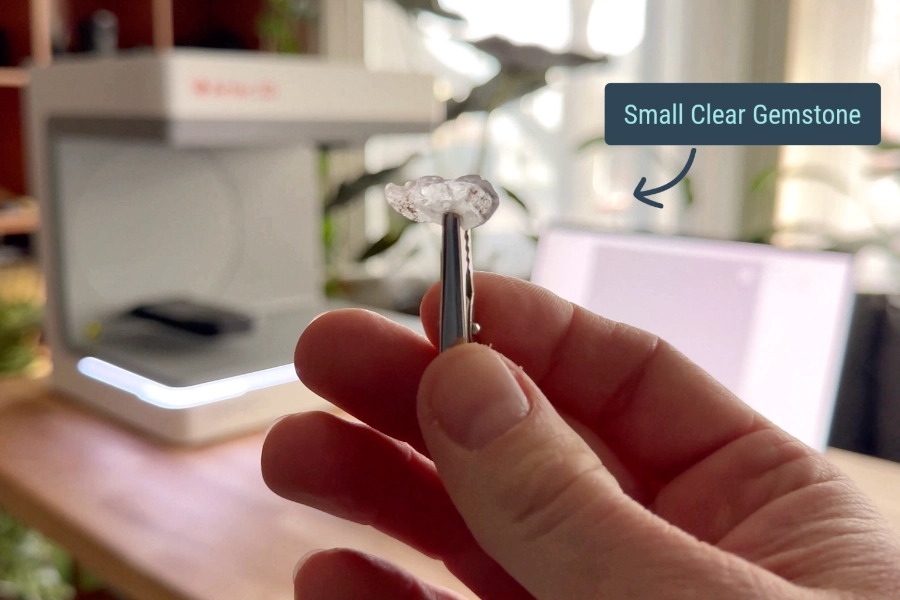
For this demonstration, we sprayed this clear gemstone with AESUB Orange 3D scanning spray.
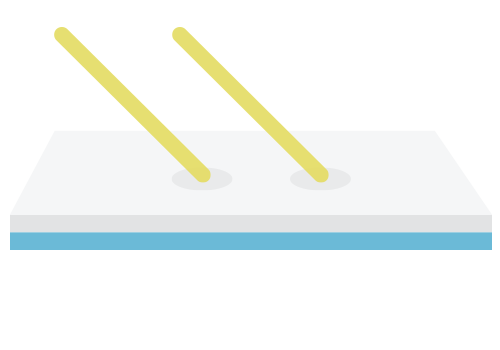
For clear or translucent objects, you need something that acts as a barrier to create a good 3D scanning surface. Using a 3D scanning spray creates an optimal uniform matte white surface for 3D scanning.

In our lab, we use AESUB vanishing sprays for a no-mess experience. They evaporate after a set time, eliminating the need for cleanup after scanning.
Challenge #2
The gemstone is a small object.
Fixturing an object securely guarantees that the part doesn’t move during the 3D scanning process. Alligator clips are particularly useful for fixturing as they provide a reliable hold (and avoid putting fingerprints on the object).
When using a small clip to secure the gemstone, it became apparent that the clip would appear in the scan. To address this issue, we scanned the gemstone twice: once with the clip at the top and once with the clip at the bottom. After completing both scans and removing the clip from the scan data, there was enough overlapping data in the two scans to align and merge them into a complete 3D model.
How to Get a Complete 3D Model Using a Clip as a Fixturing Aid
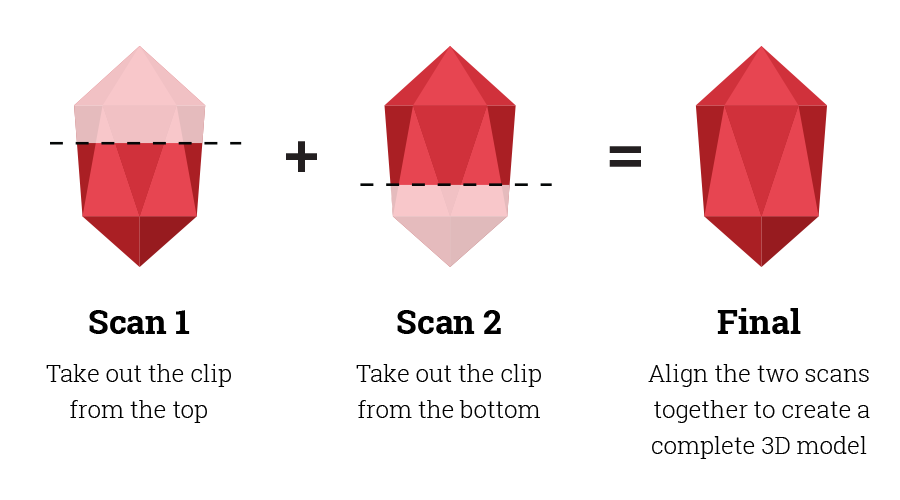
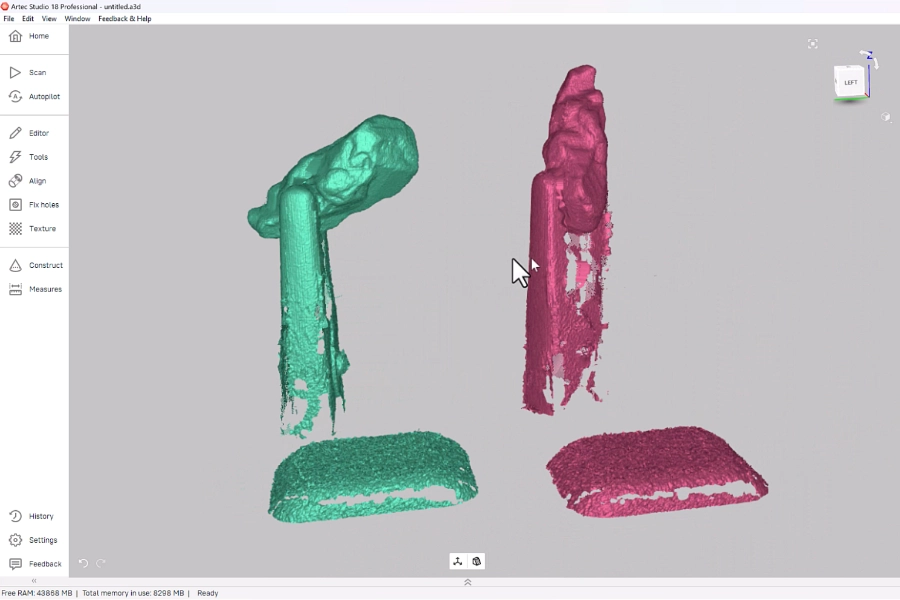
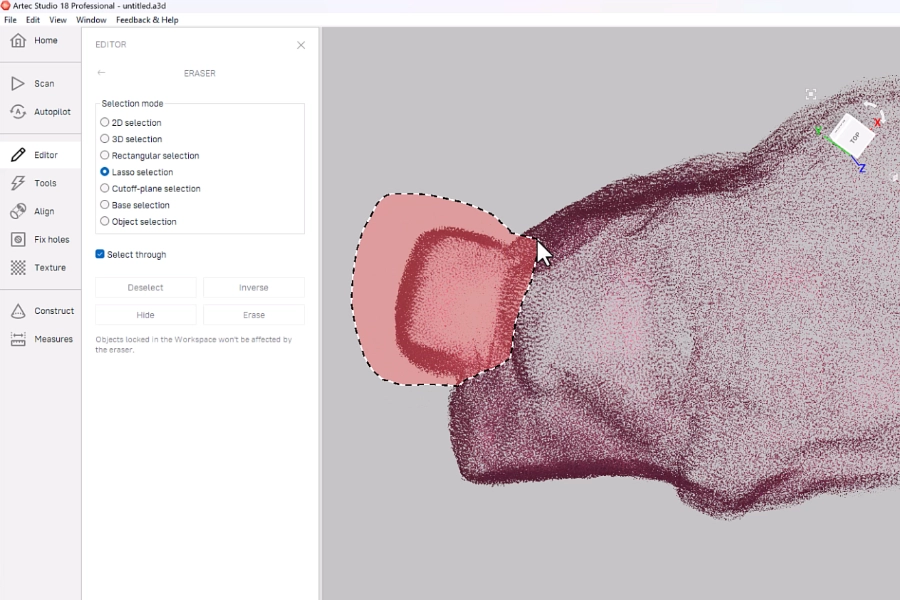
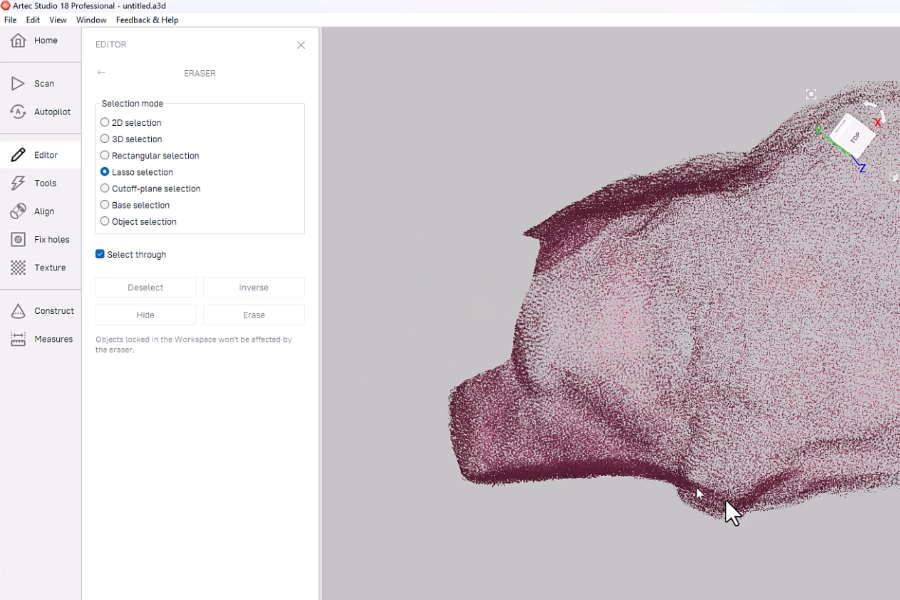
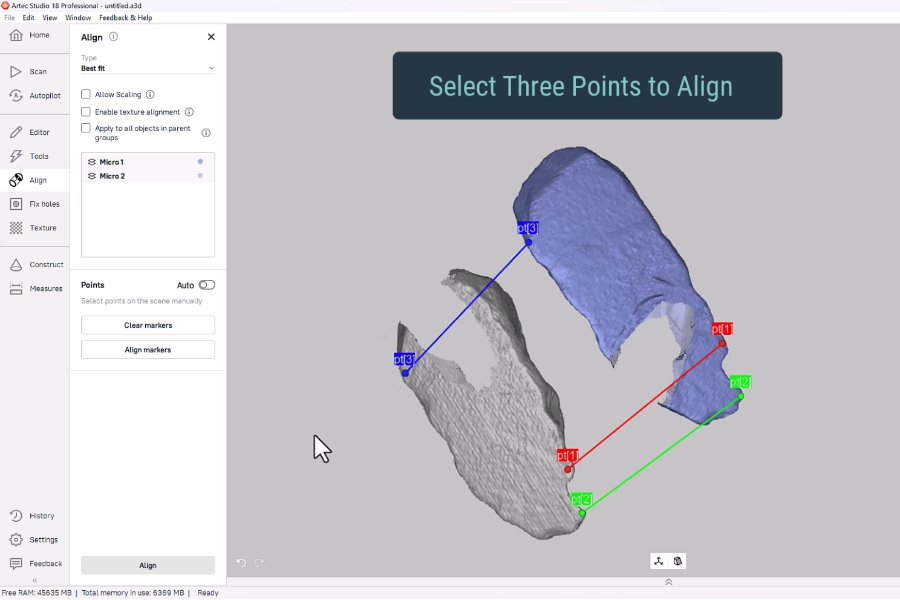
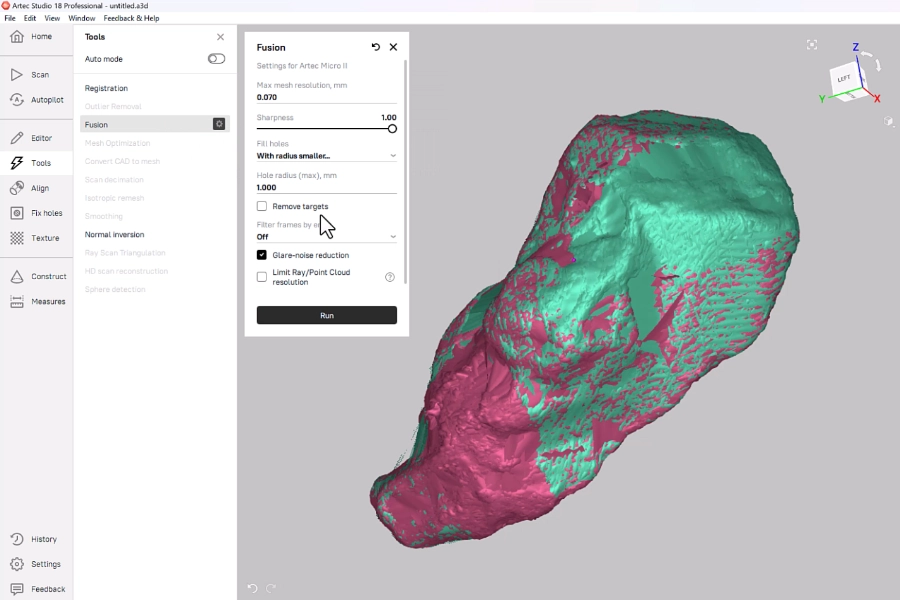

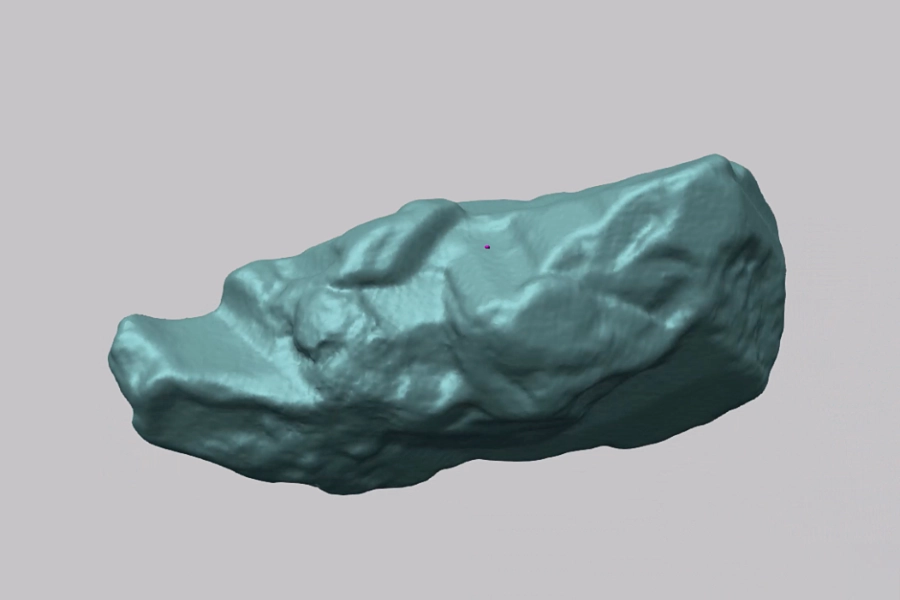
Final 3D Model
Here is the final 3D model after two scans (top and bottom) were aligned and merged.

Use Cases
3D scanning of this gemstone highlights various practical uses.
For example:
- In jewelry making, designers can obtain precise measurements of precious stones to craft intricate designs.
- Artifacts, even small ones, can be digitally archived for research purposes to be easily shared with other researchers.
Beyond these specific uses, the Artec Micro II demonstrates its versatility across industries such as dentistry and forensics, showcasing its broad spectrum of applications.
See the Artec Micro II in Action
Curious to see what Artec Micro II can do for your application? Book a meeting with us and we’ll take you on a live web demonstration and answer any questions you have about this desktop 3D scanner.
